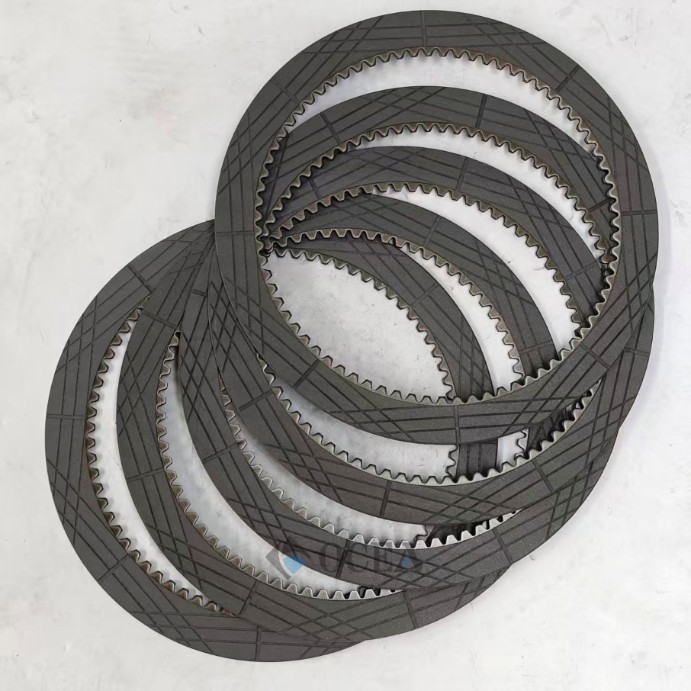
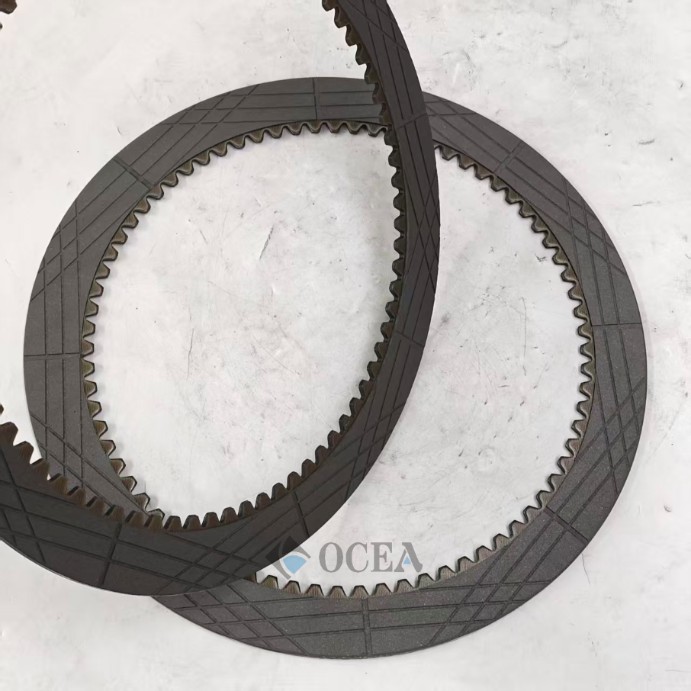
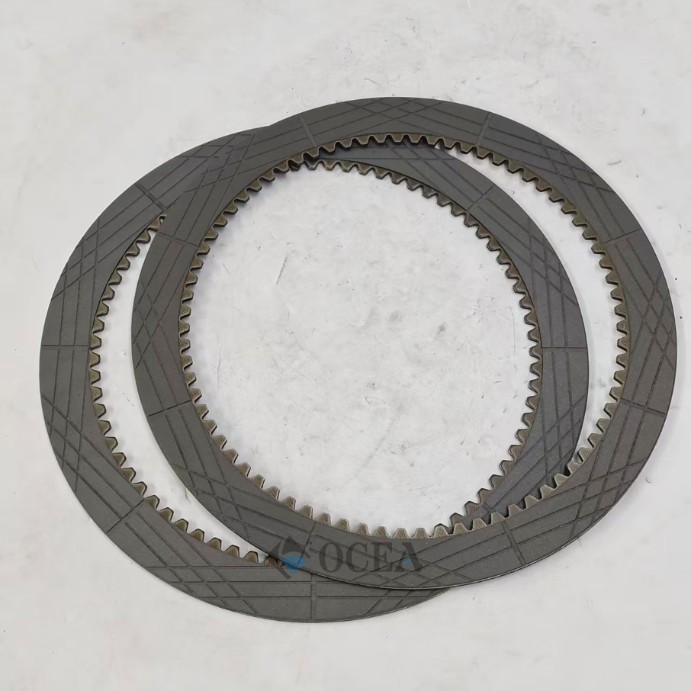
Caterpillar 6Y-9807 Clutch Friction Plates Basic Information Part Number: 6Y-9807 Type: Friction Plates Spare Parts: Wet clutch friction plates for gearboxes (copper-based friction plates) Compatible Models: Caterpillar 735 740 769D 771C 771D 769C 770 772 Dump trucks, etc. gearbox clutches
Matching Steel Plate: 6Y-9806 Specifications Outer Diameter: 345 mm Inner Diameter: 272 mm Thickness: 5.6 mm Number of Teeth: 75 teeth Net Weight per Piece: 0.8 kg Material and Features Friction Layer: Copper-based powder metallurgy material, high temperature resistant, heavy load resistant, and burn-resistant steel core: High-strength cold-rolled steel plate Oil Grooves: Radial heat dissipation oil grooves, good heat dissipation in wet conditions, smooth shifting Interchangeable Parts: Can replace 2S-4983, universal for 966C/D/E Series Transmissions
Our company specializes in Caterpillar spare parts, including: Gearbox Clutch Friction Discs, Transmission Clutch Friction Plates, Clutch Friction Plates, Cutting Edges, Caterpillar Cutting Edges, Sprocket Assy, Motor Grader Cutting Edges, etc.
Pre-installation Preparation (Required):
Turn off the engine and disconnect the power; release the transmission fluid pressure; engage the parking brake; affix safety tags.
Disassemble the transmission clutch piston assembly; thoroughly clean the steel plates, pistons, splines, and oil passages, ensuring no metal shavings, old sludge, or oil stains remain.
Soak new friction plates in original factory transmission hydraulic fluid for 2 hours to fully saturate the oil sump and prevent dry friction and plate burning.
Inspection: Flat and without warping; piston seals intact.
Stacking Sequence (Wet alternating stacking, reverse installation is strictly prohibited):
Steel Plate 6Y9806 → Friction Plate 6Y9807 → Steel Plate 6Y9806 → Alternating Cycle
The copper friction surface of the friction plate faces the steel plate; the spline is fully engaged in the shaft groove without warping or jamming.
The entire piece fits flat and snugly, with the radial oil groove facing the oil passage for smooth heat dissipation.
Assemble strictly according to the original factory assembly quantity; do not over-assemble, under-assemble, or assemble incorrectly.
Piston Reinstallation and Tightening
Apply original factory sealing grease to the piston seal ring and spline mating surface.
Smoothly install the piston, applying pressure evenly diagonally; avoid forceful hammering.
Tighten the end cap bolts to Caterpillar standard torque, tightening diagonally in stages, ensuring even force distribution.
Reinstall the oil passages and oil pipes, ensuring a leak-free seal.
Post-Installation Break-in and Adjustment
Add standard transmission fluid to the level mark.
Idle at no-load with low pressure for 30 minutes, performing low-speed shifting cycles; avoid heavy loads and rapid acceleration.
Check for smooth shifting, no slippage, no abnormal noise, no high temperature, and no oil leaks.
After break-in, recheck the clearances and bolt torque.